BEATS TO KILL TO
Devlog 1.0


Contents
- Intro
- New Shaders
- Grass
- Toon Shading
- New Mechanics
- New Attacks
- Comboing & Cancelling
- New Music
- The Mage
- Midi Support
- Closing Notes
Intro
Hey everyone, thanks for clicking on our devlog. In this post we are going to be discussing some of the changes we've made to the game in the past month and how we accomplished those changes. You'll notice things like bugfixes aren't really listed, that's because we will be doing another log with the changes when we upload the new version. If you have any questions feel free to comment on here or just ask us in our discord.
New Shaders
The first point to discuss is the new shader pipeline we have created for the game. The old pipeline we were using was just completely boring. We simply just used default HDRP and some assets we could find on opengameart. We had a few custom shaders for grass and some various other visual effects, but there was no style. We needed to remedy this in order to make our game really come to life.
Grass
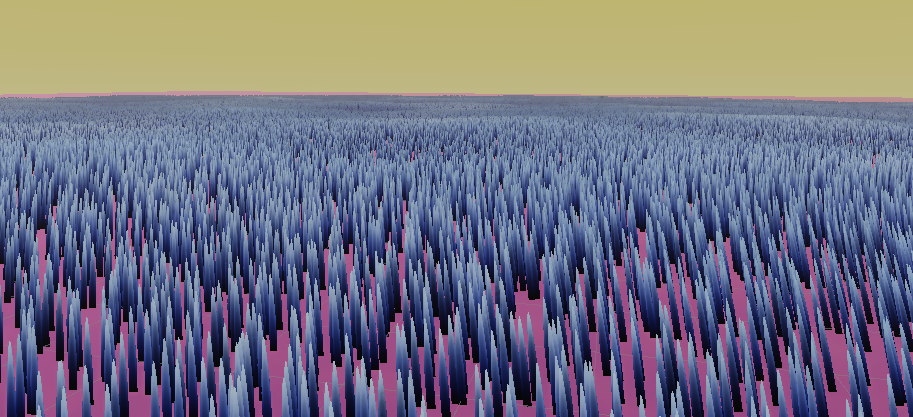
Grass is something that is so hard to get right in games. It needs to look thick from every possible viewing angle while not using much computational power. In this game there is a particular issue with grass since we also need it to look good from the top. This means our old grass solution falls apart as soon as you look down at it from above. This article does a great job of describing the shortcomings of traditional grass methods.
Old grass from the side view
Old grass from the top view
The recommendation most people have to solve this problem is to create a geometric grass shader. Without too much detail, this shader would create a bunch of triangles from the surface it is put on, and then turn those triangles into blades of grass. This would be a great solution, but it is a bit tricky to pull off in HDRP. In both HDRP and URP Unity really wants the user to use shadergraph to make shaders. Making custom shaders is not supported natively. Thanks to the community, custom URP shaders have been cracked, and there are tons of tutorials on how to make them. Unfortunately, there is much less documentation for HDRP. Because of this, we decided to go for a different grass method.
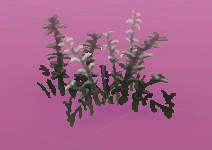
 Our grass method
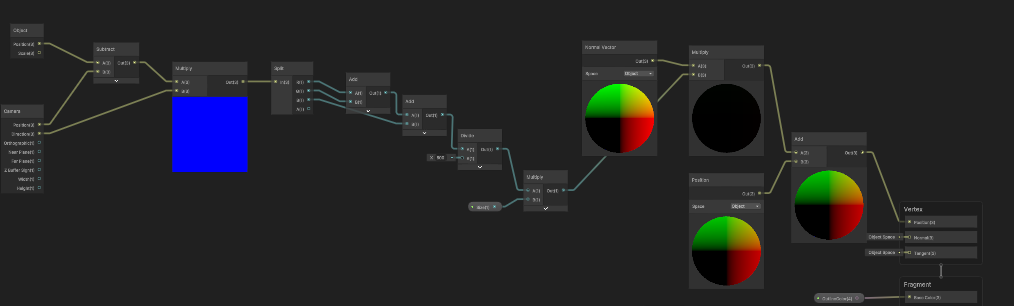
Our idea was to simply create one blade of grass in a custom shader. and then paint a ton of them onto the terrain. The newer HDRP versions don't support grass painting, but they do allow for detail mesh painting. This means we can paint thousands of quads onto our terrain all with various grass textures and a custom shader.
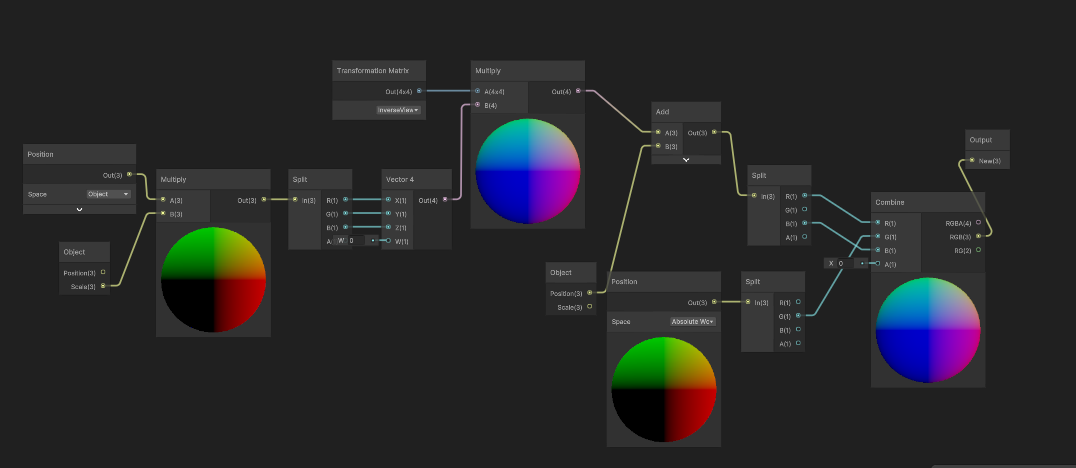
Our shader uses a couple of different color passes similar to the shader described in this article. Initially we have two colors, a base color and a secondary color. We can then lerp between them using the green channel of the UV node. This lets us create a gradient effect between two colors, which creates a slightly more interesting two tone grass.

The method for creating gradients in shadergraph
We then used the same method to apply a small amount of ambient occlusion the the bottom of our grass. This made the base of it nice and dark which create a believable shading effect. Lastly we wanted to have a scrolling highlight on top of our grass to make it look like wind was sweeping across it. To do that we using the sweeping gradient noise method described in this tutorial. This method can be used to create both the wind that moves our grass, and the highlight of the grass through a final lerp node that takes all the base colors combined together and the highlight color.
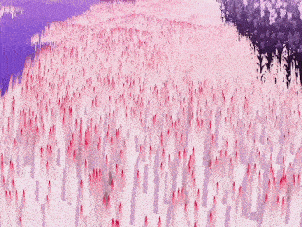
White grass with red highlights and wind effects
The last element of the grass is billboarding. We need to billboard to limit the amount of grass we actually need in our scene. It looks like there are many more blades of grass if they are all constantly facing the camera rather than being rotated randomly. Unity typically natively supports billboarding and does it for you on grass in the other rendering pipelines, but in HDRP, this is not supported. Luckily, we can billboard in our shader so we don't have to attach any scripts to the gameobject. There are actually a few different tutorials online for how to do this and it is pretty simple. We ended up making a subgraph and then replacing all the instances of absolute world with the instance of the subgraph. This let us still keep all of our wind calculations while having nice billboarded grass.
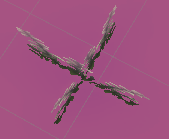
Billboarding subgraph
Toon Shading
Since we decided to go for a more cartoony look, we definitely needed a toon shader. Probably one of the best resources for how to make a toon shader comes from the pros themselves: Arcsystem works. Now we aren't nearly as funded as arcsys, nor do we have as many artists, so some of their more complicated methods just aren't realistic for an indie studio. The main takeaway is the simple dot product lighting function. If the face of the object is facing the light, its lit, if its not make it black (or some other color).
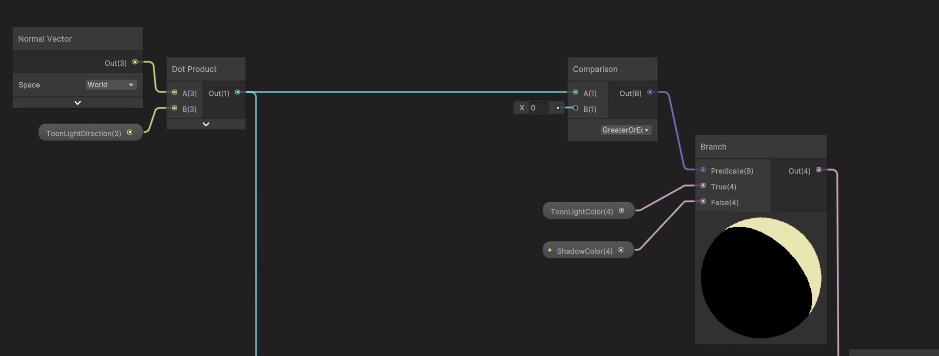 Toon shading function
One trick that has to be done in this function is actually setting the lighting direction. We can do this by NOT exposing the variable, and then setting it in a script on the directional light. This scirpt looks something like this:
using UnityEngine;

[ExecuteInEditMode]
public class ToonShaderLightingSettings : MonoBehaviour
{
    private Light mainLight;
    void OnEnable()
    {
         mainLight = GetComponent<light>();
    }
    void Update()
    {
        Shader.SetGlobalVector("_ToonLightDirection", -transform.forward);
        Shader.SetGlobalColor("_ToonLightColor", mainLight.color);
        Shader.SetGlobalFloat("_ToonLightIntensity", mainLight.intensity);
    }
}
This gets pretty good performance since it can set the lighting for every toon shader in our scene at once. A lot of other cool shader tricks (and source code) can be found in this video.
The other element of the toon shading is actually a separate shader that creates an outline around the player. To use this you need to make a separate material for the outline. Usually you wouldn't want two materials on an object, but if it is only one object in the scene it's not too bad of a performance hit. This shader expands the object and then culls the front face of it. There are other methods depending on the needs of your game, but this one is pretty simple and easy to set up.
 Outline shader position component
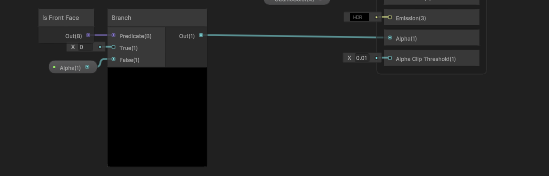
Outline shader alpha component
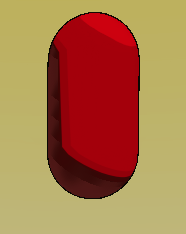
Shader results with outline
New Mechanics
New Attacks
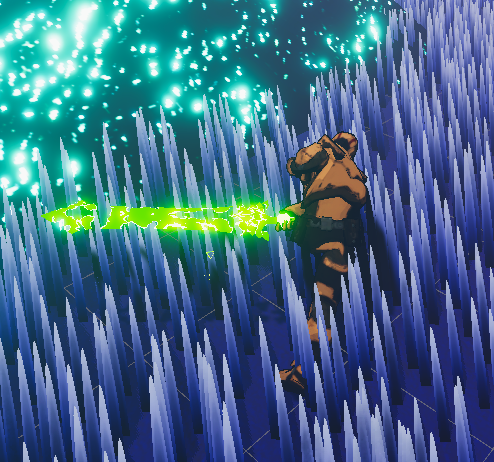
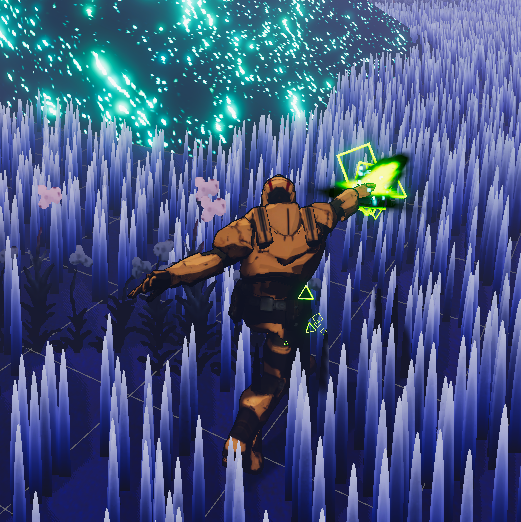
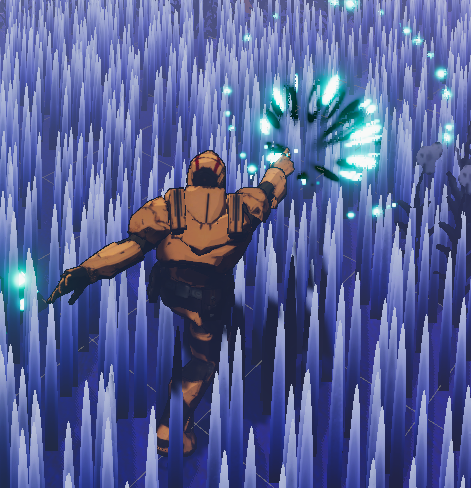
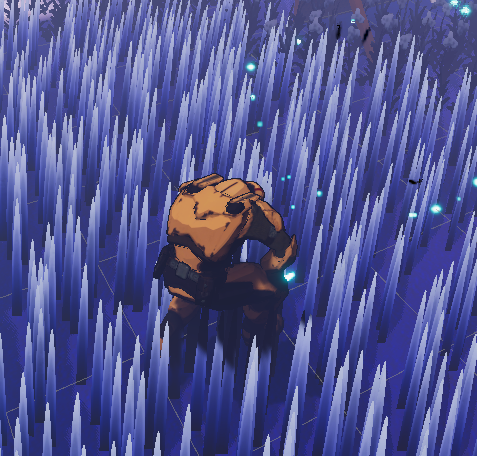
Previously, the player had a sword slash, a block, and a shotgun attack. The sword slash and block were basically useless because the shotgun was just so much better. We decided to change the rest of the player's move set because of this. The player now has four attacks
Player attack 1
A quick, hitscan, shot forward that does low damage but can be used every beat

Player attack 2
A dash that can be used in any direction accompanied by a sword swing. This move is great for mobility but has an eight beat cooldown.
Player attack 3
A high damage, hitscan shotgun blast
Player attack 4
A slam attack that hits all players in a radius around you. This move is great for following up after a dash upwards using attack 2
Comboing & Cancelling
These are two new global mechanics that we have introduced to the game. The first is comboing. In most traditional rhythm games, the player is encouraged to combo or consecutively hit correct notes. This usually would make the player get more score or allow for some type of combo mechanic. In this game hitting combos fills up a gauge that allows the second mechanic, cancelling, to take place. Hitting multiple correct notes in a row will fill this gauge faster by using a combo multiplier.
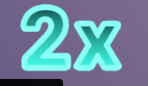
The combo multiplier shows how many points you get for hitting a correct note
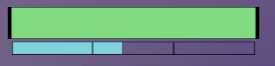
The combo gauge (bottom) shows how many points the play has
Cancelling is performed by using an action when it is on cooldown, or while performing a different action. When this is done the player uses 1/3 of their combo gauge and gets an effects that says that they have canceled. This allows situations where a player might fire off two shotgun shots in one beat or dash away in an emergency, even when their dash is on cooldown.
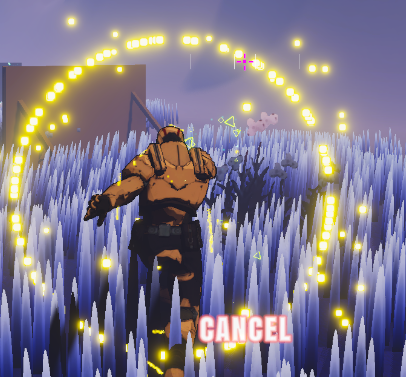
The effect shown when cancelling
New Music
The Mage
The mage is a short three track EP that can be found here in high quality or streamed on SoundCloud. This EP was made in only 1 week for the OST composing jam! These songs will be available to play in BTKT during the next update.
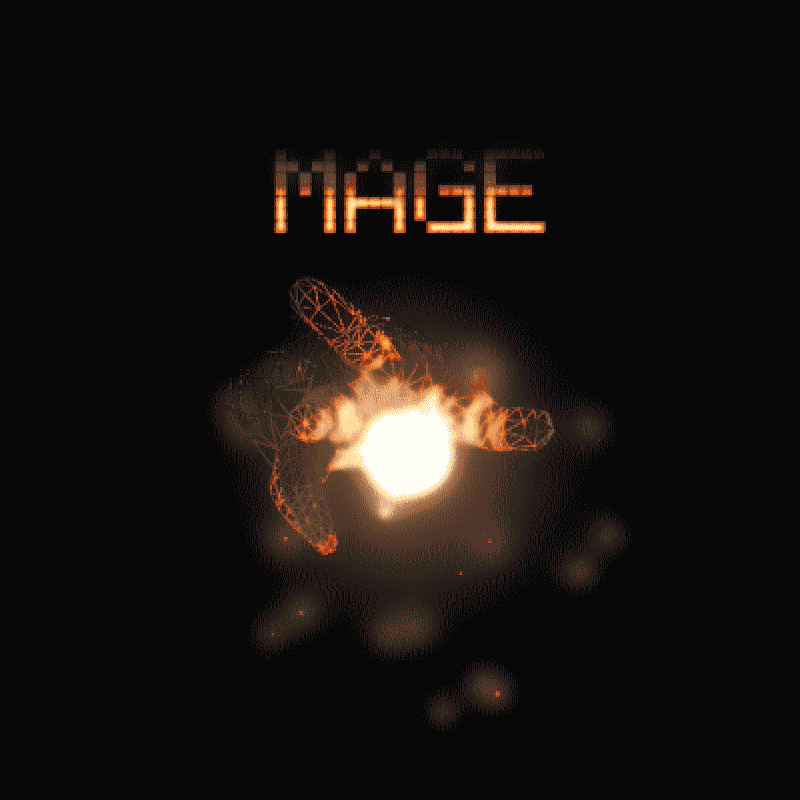
The Mage cover art
Midi Support
Midi is currently in the game! (we just don't really know what to do with it) Currently the game works well being based solely on the beats in the song. It's pretty impossible to add any more information for the player to try to read during playtime. We are still exploring what can be done with midi and will plan to have midi as well as custom track support in the full release!
Closing Notes
If any of this was interesting to you consider joining our discord or following us on twitter
We are always looking for playtesters or musicians to help us just reach out if you want to get involved!
Thanks for reading : )
The new update will be coming SOON (hopefully this week)
- DJ Yunomi AKA Jon Castro
Leave a comment
Log in with itch.io to leave a comment.